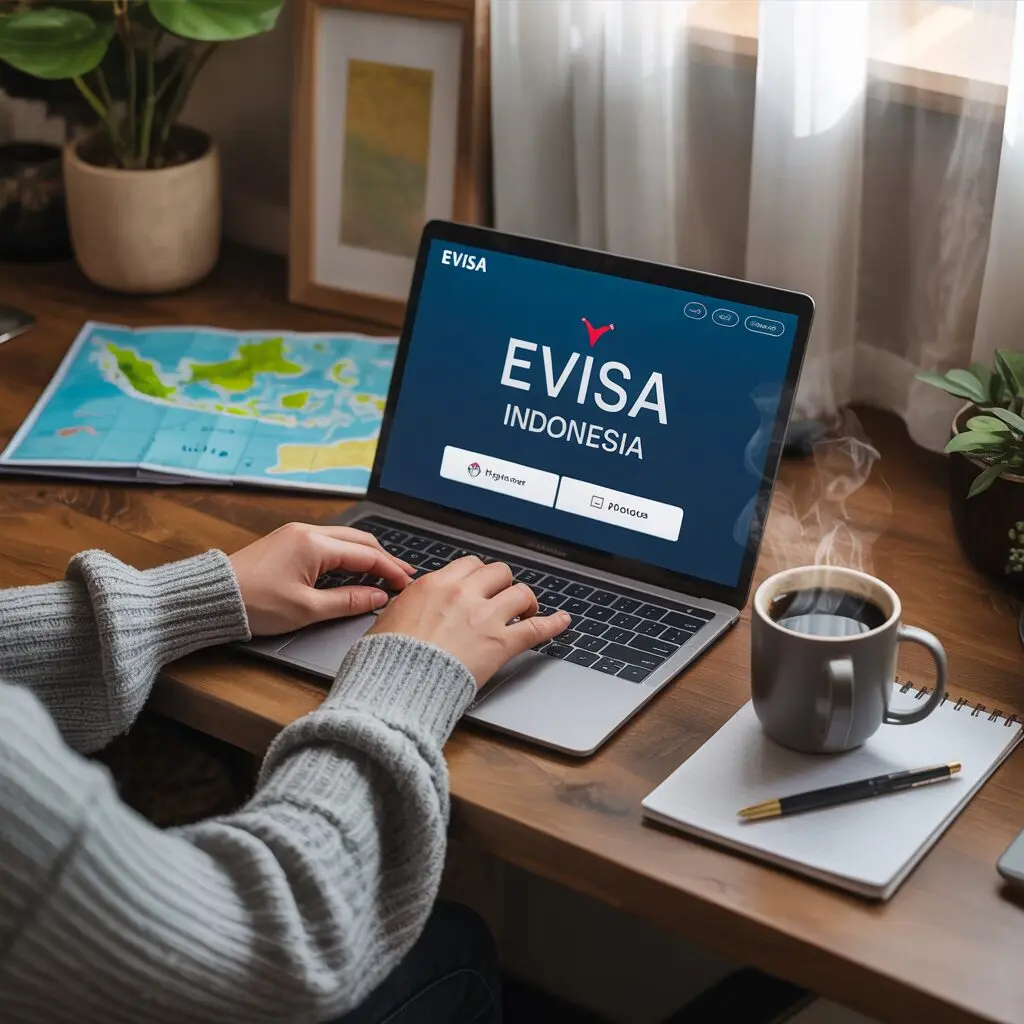
The Indonesia e-VOA application process is entirely online, meaning you can secure your visa from anywhere in the world before your flight. This step-by-step guide walks you through every screen, every field, and every document you need to successfully apply for your Indonesia eVisa.
Before You Start: What You Need
Before opening the application portal, gather these items:
- Passport — valid for at least 6 months from your arrival date in Indonesia
- Digital passport scan — full biodata page in JPG, JPEG, or PNG format
- Passport-size photo — recent (taken within the last 6 months), color, white background
- Return or onward flight ticket — showing your departure from Indonesia
- Accommodation details — hotel name and address in Indonesia
- Email address — for account creation and visa delivery
- Credit or debit card — for the IDR 500,000 visa fee payment
Ensure all documents are clear and legible. Blurry scans or incorrectly formatted photos are the most common reasons for application delays.
Step 1: Create Your Account on the Official Portal
Visit evisa.imigrasi.go.id — this is the only official Indonesian e-visa website.
1. Click the “Sign In” or “Register” button in the top right corner
2. Enter your email address
3. Create a secure password
4. Verify your email address by clicking the confirmation link sent to your inbox
Warning: There are many unofficial websites that mimic the official portal and charge inflated fees. Always verify the URL is exactly evisa.imigrasi.go.id.
Step 2: Select Your Visa Type
After logging in:
1. Click “Apply” or “New Visa Application”
2. Select “Visitor Visa” (classified as B1)
3. Choose your purpose of visit:
- Tourism
- Government Visit
- Business Meeting
- Goods Purchasing
- Transit
For most travelers, “Tourism” is the correct selection. Business travelers attending meetings or conferences should select “Business Meeting.”
Step 3: Fill in Your Personal Information
Enter your details exactly as they appear on your passport:
- Full name (first name, middle name if applicable, last name)
- Date of birth
- Gender
- Nationality
- Passport number
- Passport expiry date
- Place of birth
- Current residential address
Double-check every field. Any discrepancy between your application and your passport can result in rejection or problems at immigration.
Step 4: Enter Your Travel Details
Provide information about your trip:
- Intended date of arrival in Indonesia
- Intended date of departure from Indonesia
- Port of entry (e.g., Ngurah Rai Airport Bali, Soekarno-Hatta Airport Jakarta)
- Accommodation address — full hotel name, street address, city
- Purpose of visit — brief description of your travel plans
The visa is valid for 90 days from the date of issuance, so your arrival date must fall within that window.
Step 5: Upload Your Documents
Upload the required documents in the specified formats:
Passport Biodata Page:
- Format: JPG, JPEG, or PNG
- Must show the full biodata page clearly
- All text must be readable
- No glare or shadows
Passport-Size Photo:
- Format: JPG, JPEG, or PNG
- Recent (taken within 6 months)
- Color photograph
- White or light background
- Face clearly visible, looking straight at the camera
- No glasses, hats, or head coverings (unless for religious reasons)
Return Flight Ticket:
- Shows your departure from Indonesia
- Can be a booking confirmation or e-ticket
- PDF or image format accepted
Tip: Use a scanner app on your phone to get clear, high-quality scans. Avoid taking photos of your passport with another camera — the quality is usually insufficient.
Step 6: Review Your Application
Before submitting, review every detail:
- Check that your name matches your passport exactly
- Verify your passport number is correct
- Confirm your travel dates are accurate
- Ensure your accommodation address is complete
- Make sure all uploaded documents are clear and properly formatted
Step 7: Pay the Visa Fee
The e-VOA fee is IDR 500,000 (approximately USD 30).
Payment options:
- Credit card (Visa, Mastercard)
- Debit card
Note: Your bank may charge an additional international transaction fee. The Indonesian government uses the SIMPONI payment system. Some travelers report the total including fees comes to approximately USD 31-35.
Step 8: Wait for Approval
After payment, your application enters the processing queue:
- Typical processing time: Minutes to a few hours
- Official maximum: 5 business days
- You will receive email notifications about your application status
During peak travel seasons (July-August, December-January), processing may take longer. Apply at least 5 days before your flight.
Step 9: Download Your e-VOA
Once approved:
1. Log into your account at evisa.imigrasi.go.id
2. Navigate to “My Visas” or “Approved Applications”
3. Download your e-VOA as a PDF
4. Print a physical copy (recommended as backup)
5. Save a digital copy on your phone
Your e-VOA will contain:
- Your name and passport details
- Visa number
- Validity period (90 days from issuance)
- Permitted stay (30 days)
- QR code for verification
Step 10: Arrive in Indonesia
At the airport in Indonesia:
1. Proceed to the immigration counter (follow signs for passport control)
2. Do not go to the VOA payment counter — you already have your visa
3. Present your passport and e-VOA (printed or on your phone)
4. The immigration officer will verify your visa and stamp your passport
5. Proceed to baggage claim
Tips for a Successful Application
- Apply at least 5-7 days before your flight
- Use the official website only (evisa.imigrasi.go.id)
- Scan documents in high resolution
- Use a recent passport photo (not your passport photo — take a new one)
- Keep your email accessible for the verification link
- Screenshot your application reference number
- Save the e-VOA PDF in multiple locations (email, phone, cloud)
Common Application Errors
- Name mismatch: Your application name must match your passport exactly
- Blurry passport scan: Re-scan in good lighting
- Wrong photo format: JPG or PNG only, no PDF
- Expired passport: Must be valid for 6+ months from arrival
- Missing return ticket: Immigration expects proof of onward travel
- Wrong dates: Your arrival must be within 90 days of visa issuance
Frequently Asked Questions
Can I apply for multiple people at once?
Yes. The e-VOA system allows you to submit applications for up to 5 people simultaneously under a single account. This is convenient for families or group travelers.
What if my application is rejected?
If rejected, you will receive an email with the reason. Common causes include incorrect documentation or information mismatches. You can correct the issue and re-apply. The visa fee is generally non-refundable.
Can I change my travel dates after applying?
The e-VOA is valid for 90 days from issuance. As long as your new arrival date falls within that 90-day window, you do not need to re-apply. If your dates fall outside the validity period, you will need a new visa.
Do I need to use the same passport to enter Indonesia?
Yes. You must enter Indonesia using the same passport used in your e-VOA application. If your passport is renewed after applying, you must apply for a new e-VOA.
Can I apply if I have dual nationality?
Yes, but you must use one passport for the entire process. Apply with the passport you will use to enter Indonesia.
Is there an expedited processing option?
There is no official expedited option. Processing is generally fast (minutes to hours), but during peak periods it may take the full 5 business days. Plan accordingly.